
Set up your app's name, logo and store links

App config holds your app's identity: name, logo, support contacts and the Android, iOS and desktop store details.

Where: Account → App Config

Steps

  1. Open Account → App Config.
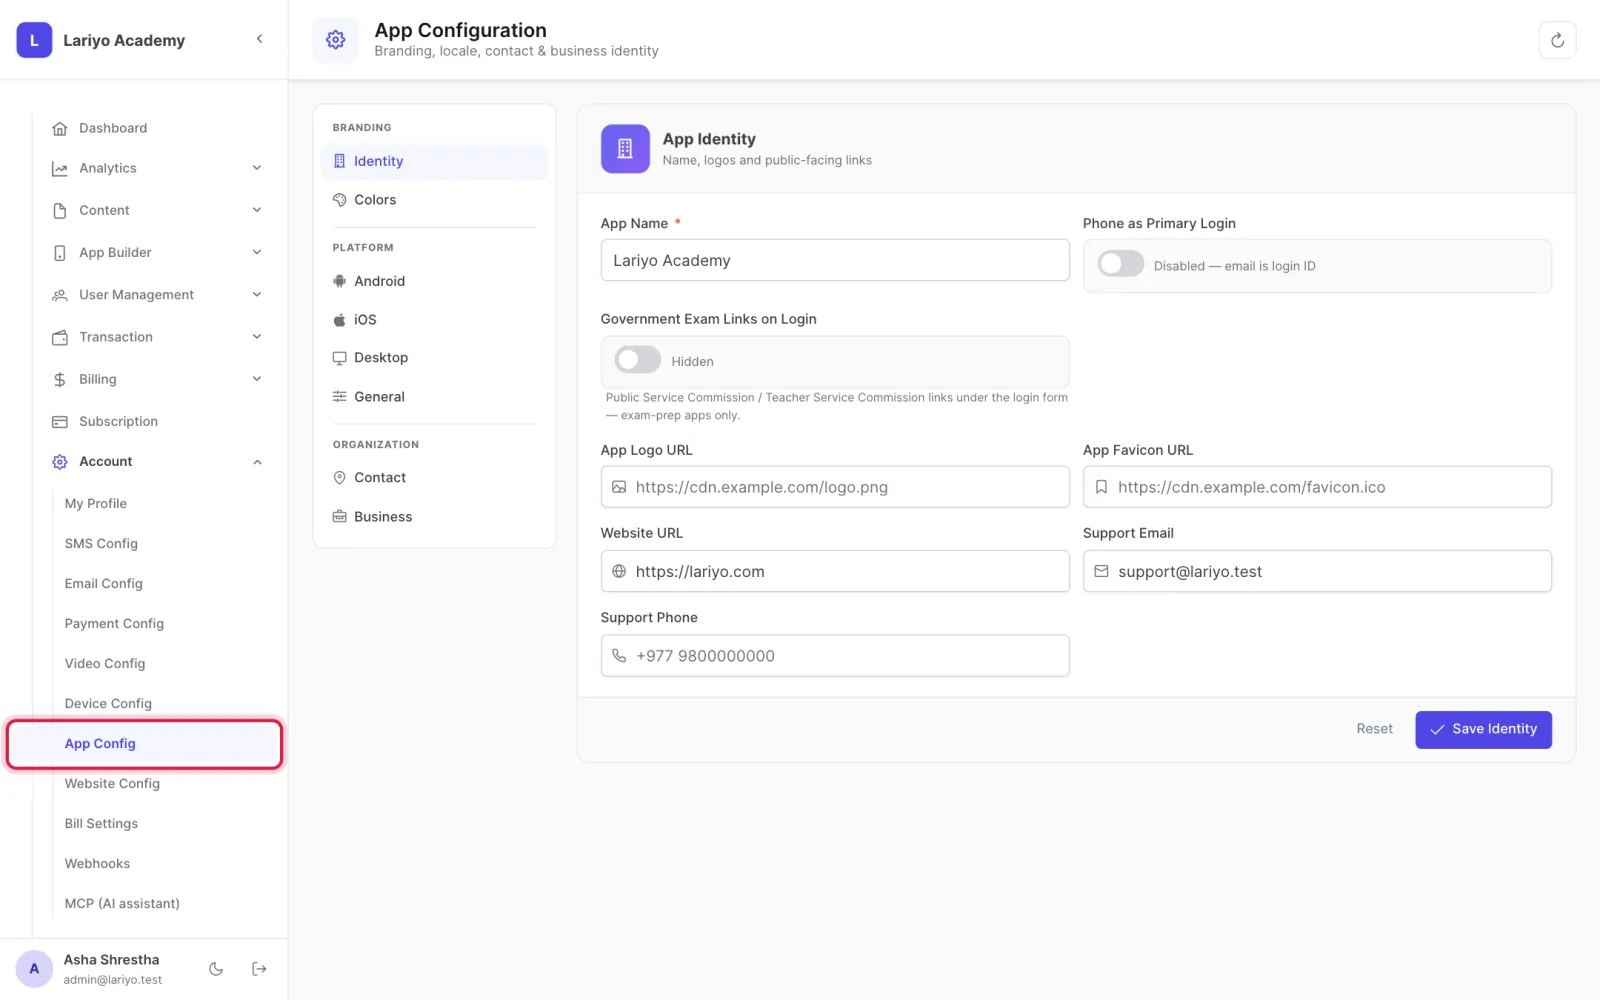
    Step 1 of 6 in the Lariyo admin panel (Account → App Config): Open Account → App Config. The control to use is outlined in red.
  2. Enter the app name, logo URL, favicon URL, website and support email and phone.
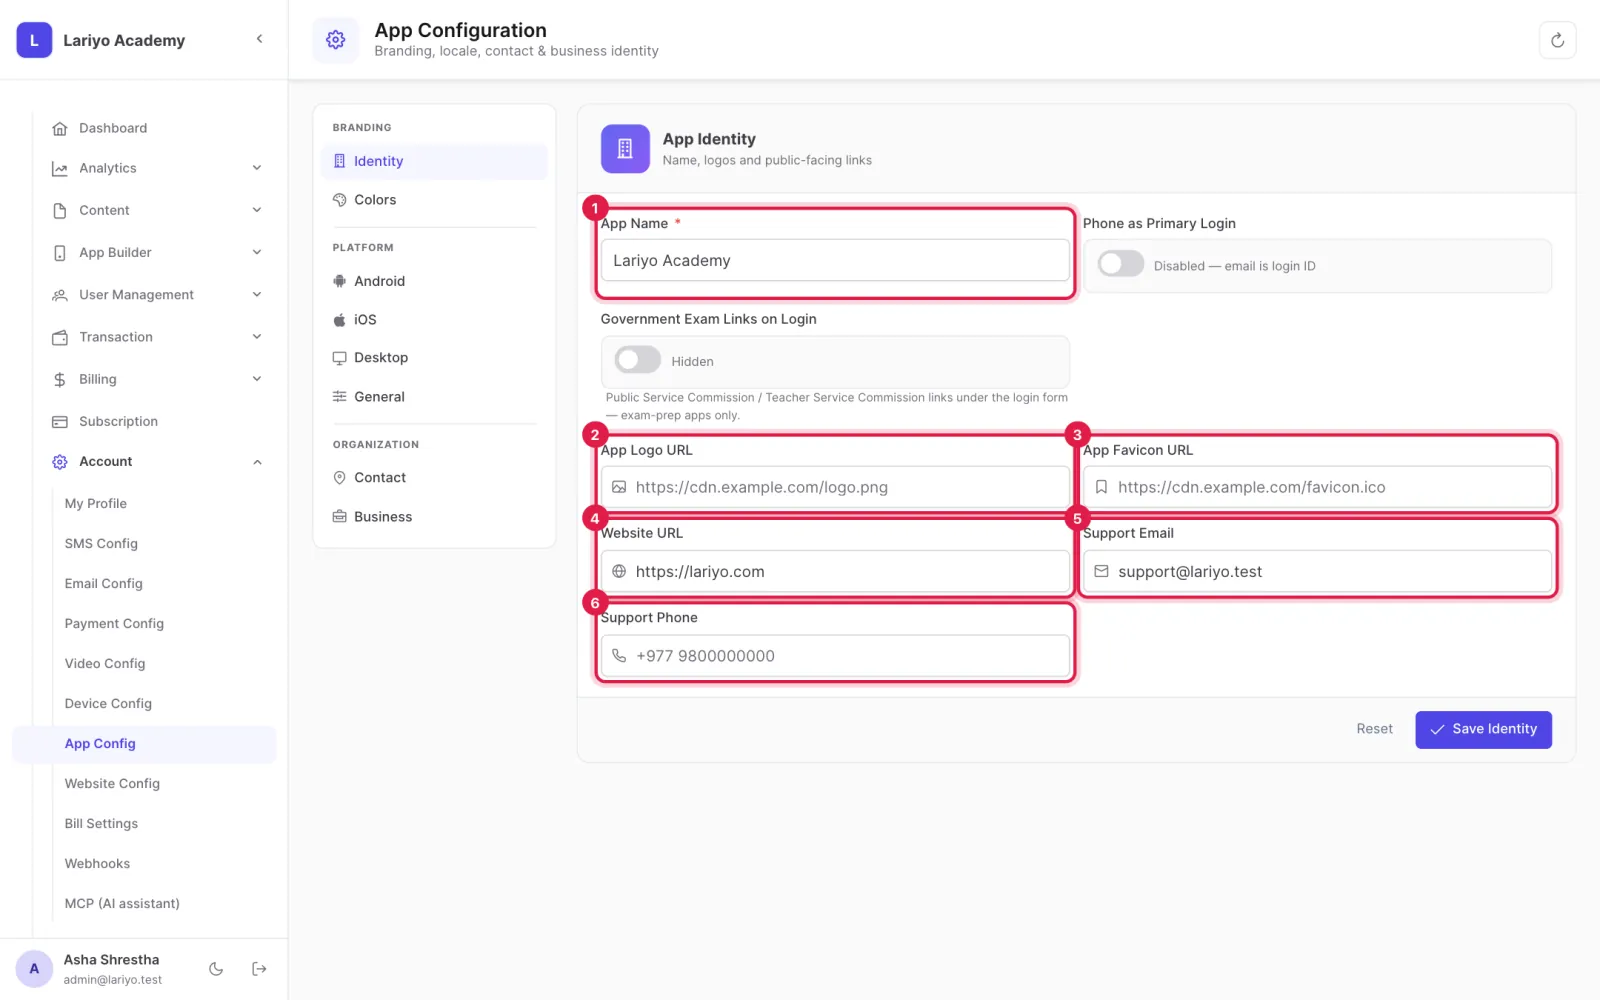
    Step 2 of 6 in the Lariyo admin panel (Account → App Config): Enter the app name, logo URL, favicon URL, website and support email and phone. The control to use is outlined in red.
  3. Choose whether students sign in with their phone number or email first.
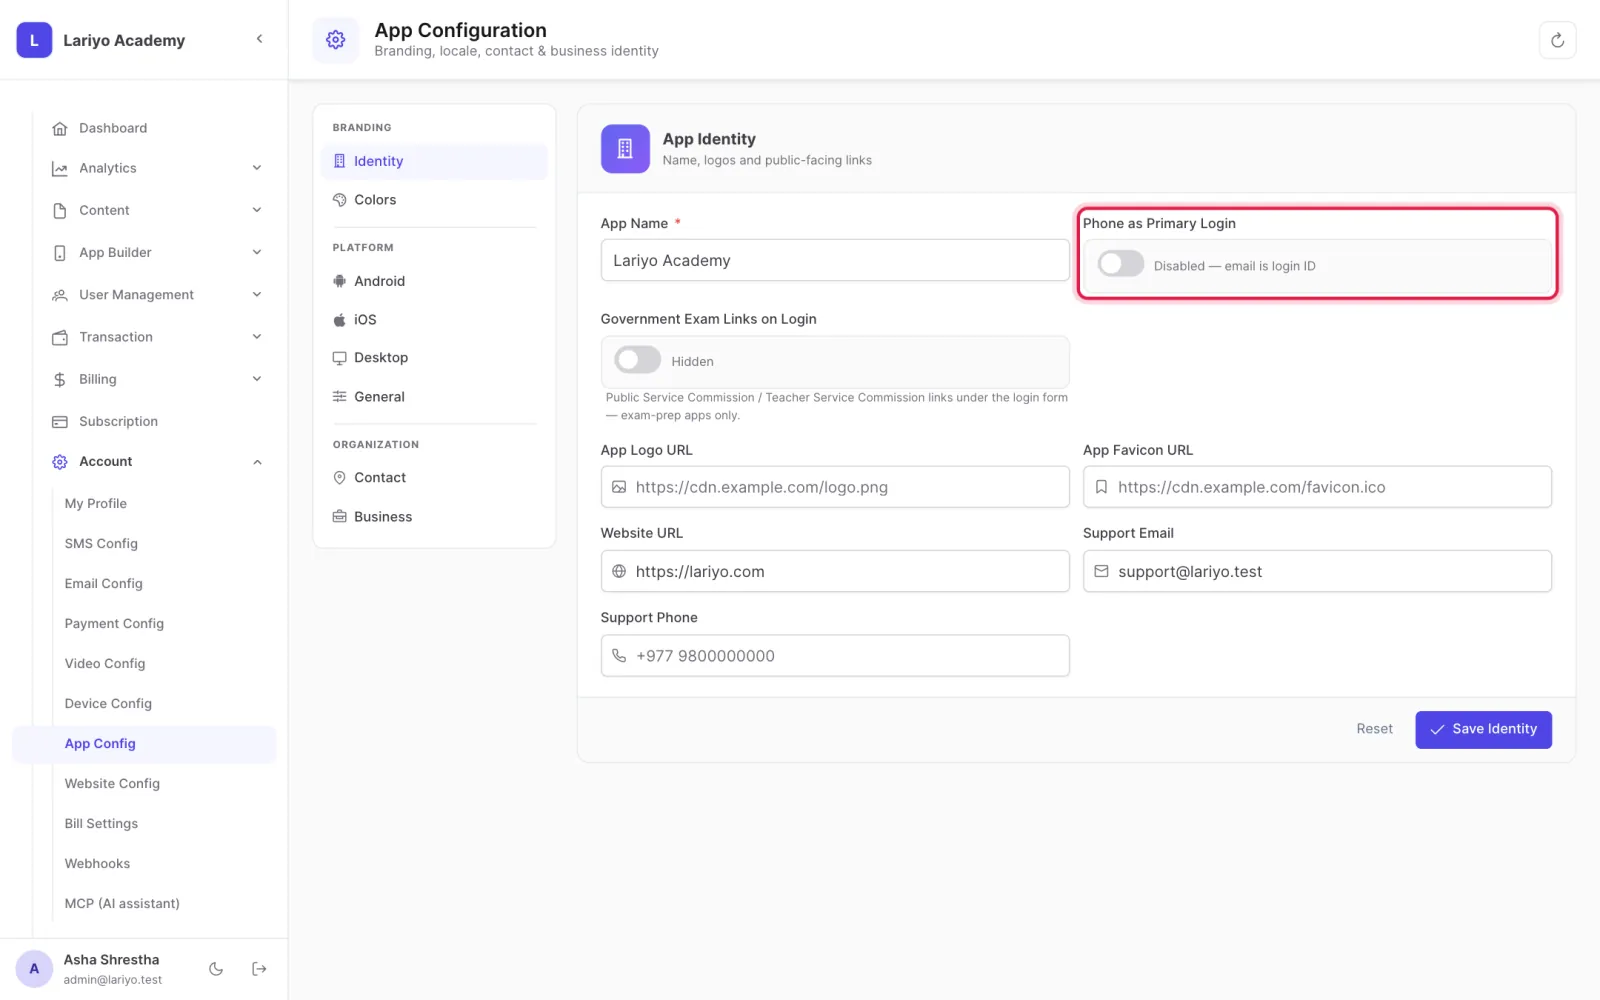
    Step 3 of 6 in the Lariyo admin panel (Account → App Config): Choose whether students sign in with their phone number or email first. The control to use is outlined in red.
  4. Fill in the Android package name, Play Store link and latest build number, and the iOS bundle ID, team ID and App Store link.
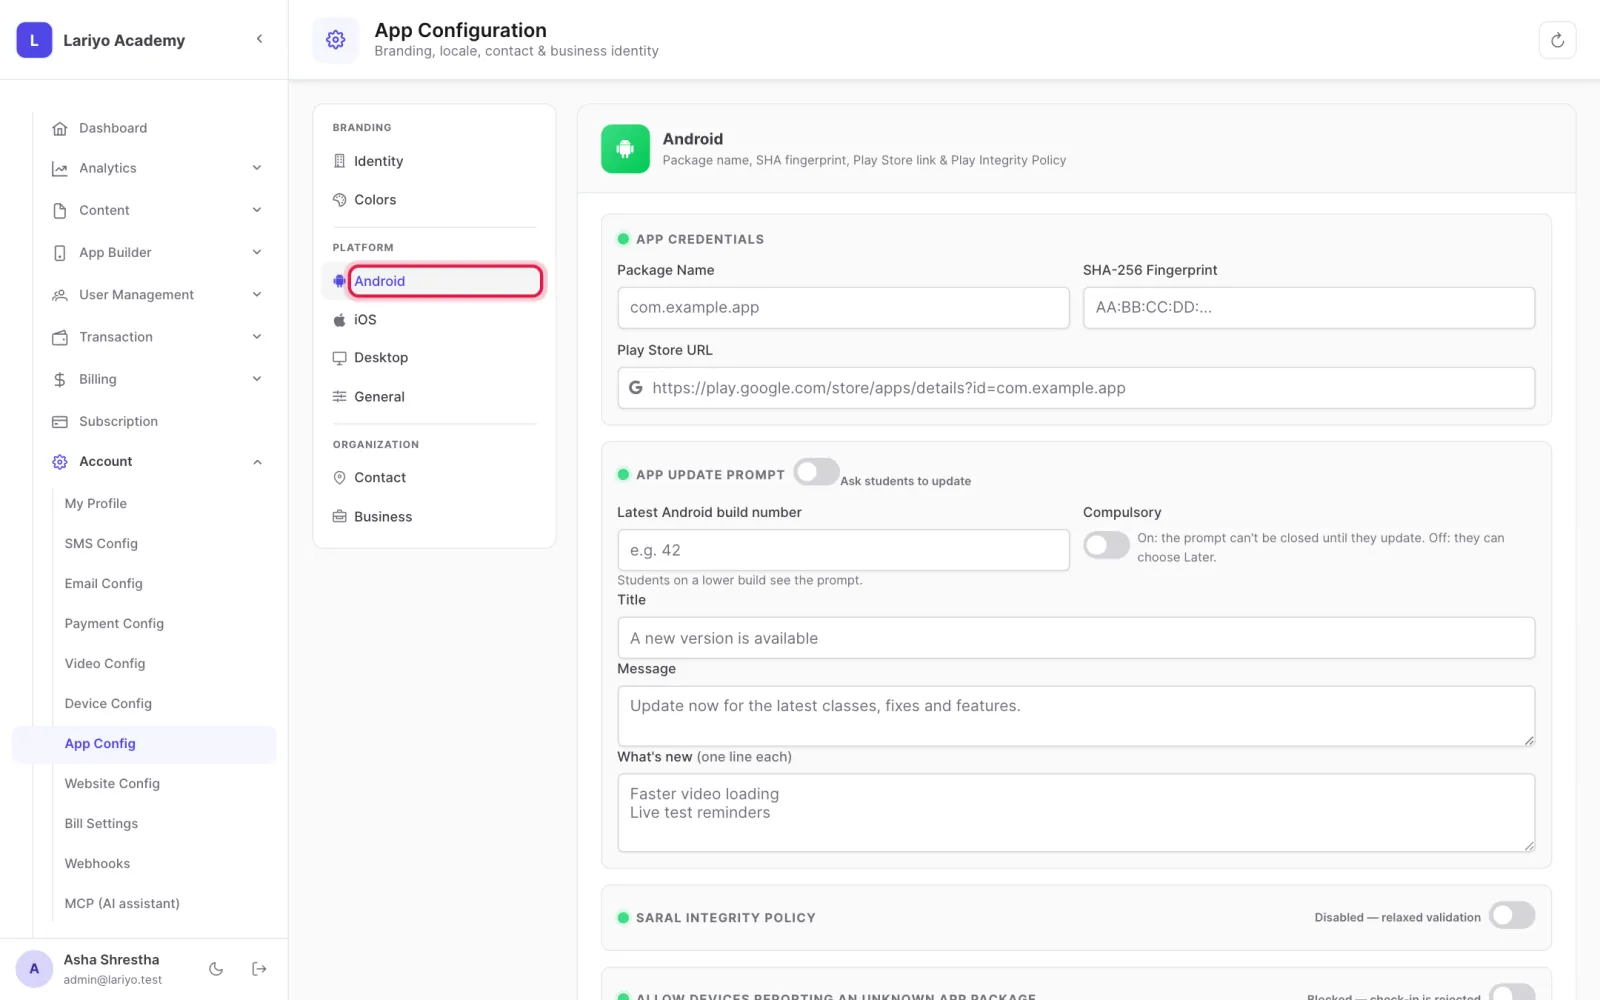
    Step 4 of 6 in the Lariyo admin panel (Account → App Config): Fill in the Android package name, Play Store link and latest build number, and the iOS bundle ID, team ID and App Store link. The control to use is outlined in red.
  5. For desktop apps, add the download link, latest version, install steps and requirements for Windows and Mac.
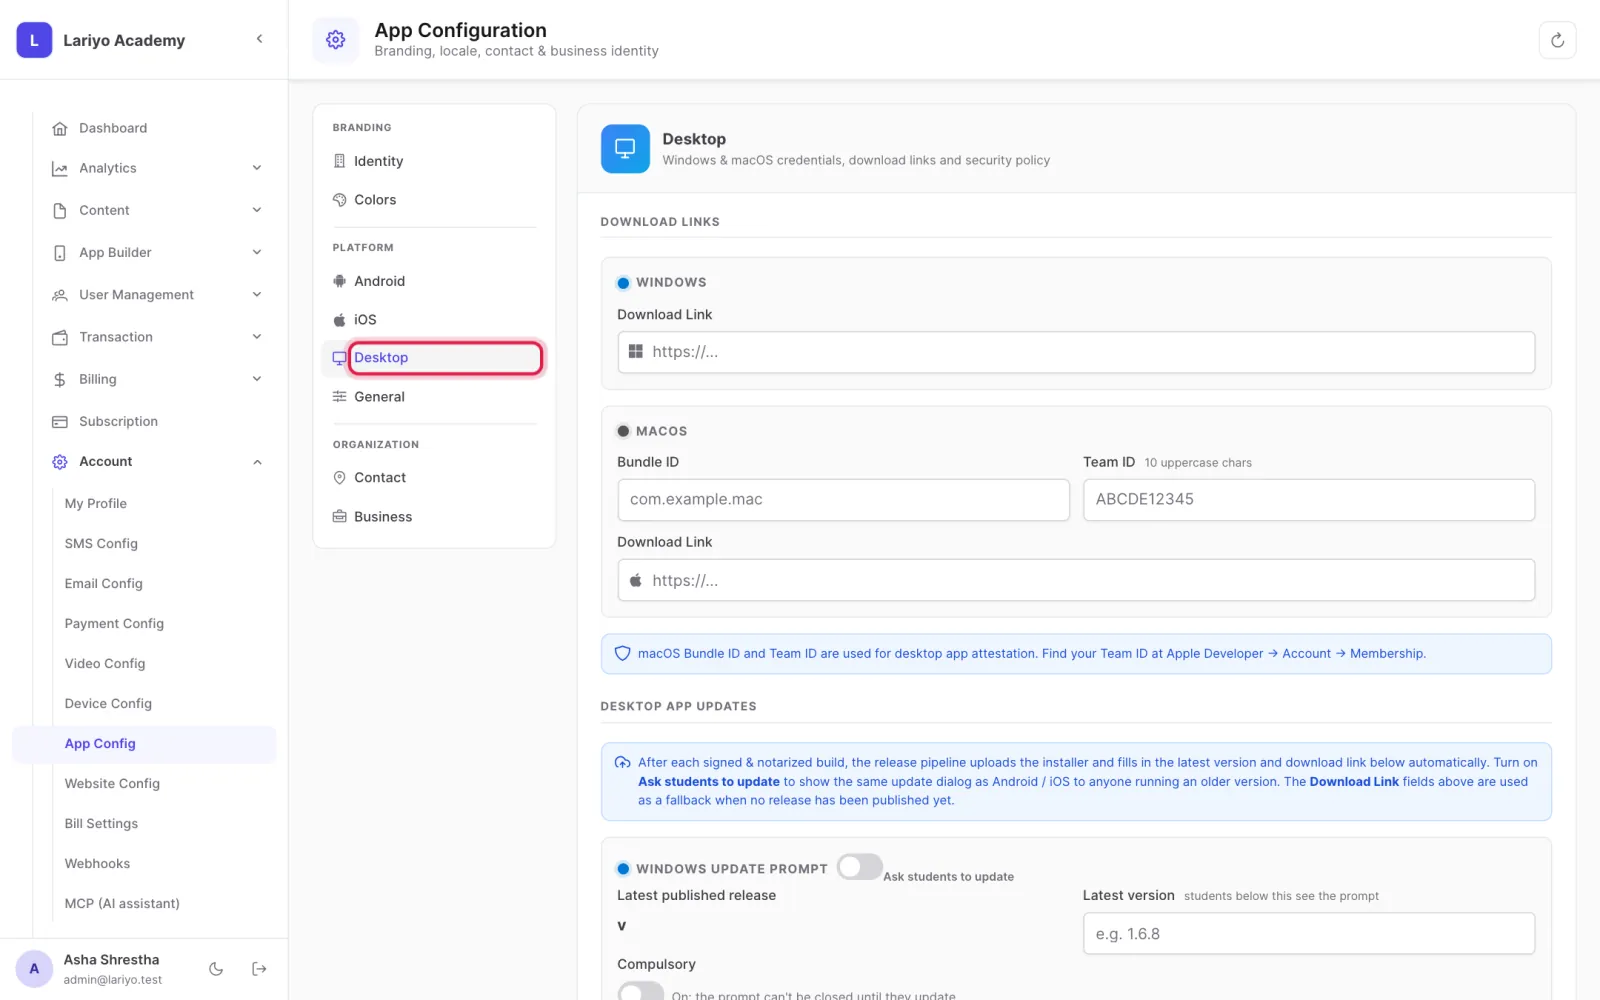
    Step 5 of 6 in the Lariyo admin panel (Account → App Config): For desktop apps, add the download link, latest version, install steps and requirements for Windows and Mac. The control to use is outlined in red.
  6. Click Save Identity, then save each other card you changed.
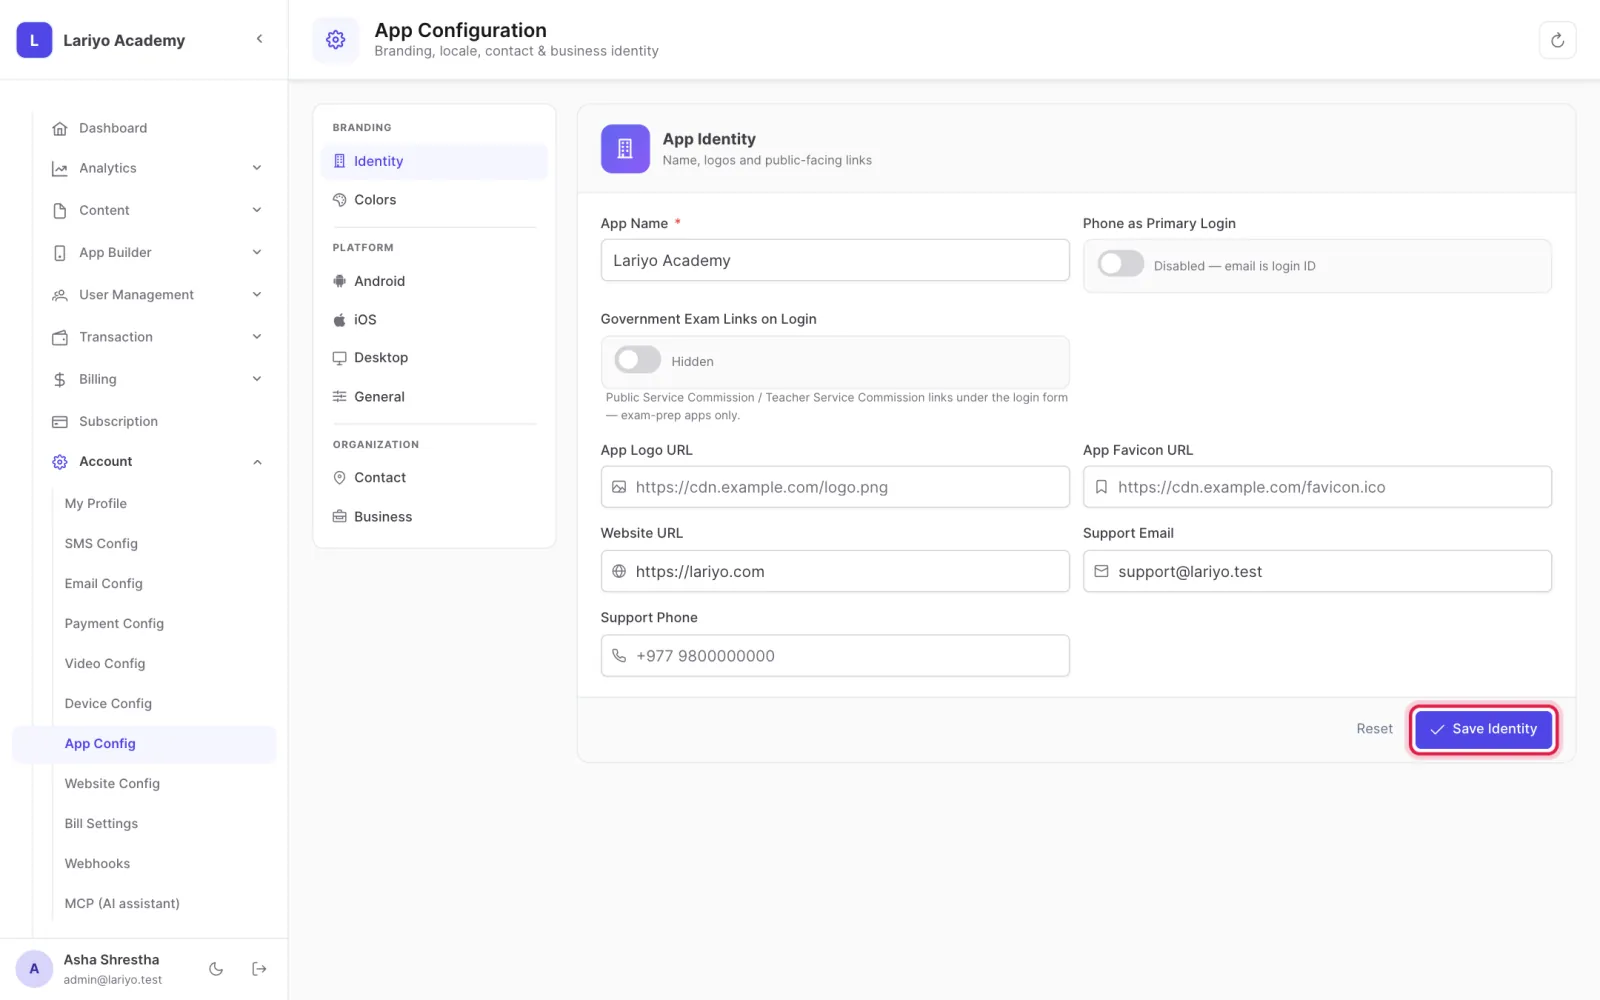
    Step 6 of 6 in the Lariyo admin panel (Account → App Config): Click Save Identity, then save each other card you changed. The control to use is outlined in red.

Tips

Turn on Compulsory for a build number when students must update before they can continue.

Release notes are written one line per change and shown in the update prompt.

Updated 11 November 2026. Still stuck? Contact us.